Repurpose Overripe Avocados: DIY Extra Virgin Oil at Home
Are you often left with a handful of overly ripe avocados, too soft for guacamole and seemingly destined for the bin? Don't despair! There's a brilliant, resourceful, and incredibly satisfying way to give these "green gold" fruits a second life: by transforming them into your very own extra virgin avocado oil right in your kitchen. Forget discarding those dark, soft avocados – instead, embark on a fun DIY project that yields a versatile, pure oil perfect for cooking, beauty, and myriad other uses. This guide will walk you through
how to make avocado oil extra virgin using a simple, accessible cold process, ensuring you get an unrefined product free from unwanted additives.
Why DIY Your Avocado Oil? Beyond the Store-Bought Bottle
In an age where almost anything can be bought with a click, you might wonder why bother making something as seemingly common as avocado oil at home. The answer lies in purity, control, and immense satisfaction. While commercial extra virgin avocado oils are available, crafting your own offers several compelling advantages:
- Uncompromised Purity: When you make your own, you know exactly what goes into it – just avocados. There are no preservatives, chemicals, or unexpected additives. This is especially important for those seeking truly unrefined oils without complex industrial processing. For a deeper dive into the benefits of crafting your own pure oil, see our guide on Craft Your Own Pure Avocado Oil: Avoid Additives, Enjoy Unrefined.
- Waste Reduction: This method is an ingenious solution for those neglected overripe avocados. Instead of letting them go to waste, you're repurposing them into a valuable pantry staple. It's a small but impactful step towards a more sustainable kitchen.
- Potential Cost Savings: While the upfront cost of avocados can be a factor, if you have access to free or low-cost avocados (perhaps from a generous neighbor's tree, a farmers' market markdown, or simply by slowly gathering those overripe ones from your fridge), making your own can be significantly more economical in the long run.
- The Joy of Creation: There’s an undeniable sense of accomplishment in creating your own pantry staples. The transformation from a soft, brown paste to a golden-green oil is genuinely fascinating and deeply rewarding.
This process allows you to enjoy the benefits of unrefined oils without the need for sophisticated equipment. While it's not strictly "cold-pressed" in the industrial sense, our home method adheres to the principles of keeping heat to a minimum, preserving the oil's delicate nutrients and flavor, thus qualifying it as extra virgin.
Understanding the "Extra Virgin" and "Cold Process" Distinction at Home
The terms "extra virgin" and "cold process" are crucial for understanding the quality of avocado oil. "Extra virgin" signifies that the oil is unrefined and extracted without chemical solvents or excessive heat, retaining its natural antioxidants, vitamins, and distinctive flavor. "Cold process" refers to the extraction method that keeps temperatures below a certain threshold (typically around 40°C/104°F) throughout the process. This low-heat approach prevents the degradation of beneficial compounds and preserves the oil's integrity.
At home, while we don't have industrial-grade cold presses, we can meticulously mimic these principles. Our method involves natural drying and gentle extraction, ensuring that the precious oil remains unheated and unadulterated. This meticulous approach is key to producing a truly extra virgin product in your own kitchen. For a complete blueprint on the cold process method, check out
How to Make Extra Virgin Avocado Oil: A Cold Process Guide.
Your Step-by-Step Guide: Making Your Green Gold
Ready to turn those overripe avocados into liquid gold? Here’s a comprehensive, easy-to-follow guide to
how to make avocado oil extra virgin at home.
Step 1: Preparing Your Avocado Paste – From Mush to Magic
The journey begins with selecting your avocados. Look for those that are very soft to the touch, often with darker skin, but importantly, free from any signs of mold or rot. The riper they are, the easier they will be to mash and the more oil they tend to yield.
1.
Mash the Avocados: Scoop out the flesh of your overripe avocados into a large bowl. Your goal here is to create a very smooth, lump-free paste.
*
Hand Masher: A sturdy hand masher works well for smaller batches and offers a good workout. Ensure you break down all fibrous bits.
*
Blender or Food Processor: For larger quantities or if you prefer a perfectly smooth consistency, a blender or food processor is ideal. A smoother paste dries more evenly, which can lead to a better oil yield. Process until it resembles a thick, uniform baby food consistency.
2.
Spread the Paste: Once your paste is ready, line a large baking sheet or several trays with parchment paper. Spread the avocado paste thinly and evenly over the parchment paper. Aim for a layer no thicker than 1/2 inch (about 1 cm). If your paste is too thick, it will take much longer to dry, increasing the risk of spoilage. Use multiple trays if necessary.
Step 2: Drying the Paste – The Patience Factor
This is perhaps the most crucial and time-consuming step, as it removes the water content from the avocado, concentrating the oil.
1.
Natural Air Drying: Place your trays of avocado paste in a well-ventilated area, away from direct sunlight. A cool, dry room is ideal. The drying time will vary significantly depending on your local climate, humidity levels, and the thickness of your paste. It can take anywhere from a few days to a week or more.
*
Stir and Respread: To ensure even drying and prevent mold, you'll need to periodically mix and re-spread the paste. As the top layer browns and dries out, stir the paste thoroughly, breaking up any clumps, and then re-spread it into a thin layer. Do this at least twice a day (morning and evening).
*
Observation is Key: Continue this process until the entire paste turns a very dark, uniform brown color. It should feel dry and crumbly, no longer moist or sticky. If your paste was initially chunky, ensure all pieces have thoroughly dried and darkened.
2.
Using a Dehydrator (Optional, with caution): If you want to speed up the process, a dehydrator can be used. However, to maintain the "extra virgin" quality, it is absolutely critical to keep the temperature below 40°C (104°F). Higher temperatures will compromise the oil's integrity and nutritional profile. Set the dehydrator to the lowest possible setting and check frequently, mixing and re-spreading as needed.
Step 3: Extracting Your Oil – The Rewarding Squeeze
Once your paste is a uniformly dark brown and completely dry, you're ready for the grand finale!
1.
Prepare for Extraction: Gather a clean piece of cheesecloth, a nut milk bag, or even a fine mesh strainer lined with several layers of cheesecloth.
2.
Squeeze the Oil: Place a portion of the dried avocado paste into your chosen straining material. Over a clean bowl or jar, begin to squeeze and press the paste firmly. You'll soon notice drops of beautiful green oil beginning to emerge. This part can be quite physically demanding, but it’s incredibly satisfying.
*
Alternative Pressing Methods: For a more efficient extraction, you can use a small fruit press or even place the paste between two cutting boards, applying pressure with your body weight or clamps. The goal is to apply consistent, strong pressure to extract as much oil as possible.
3.
Collect and Purify: As the oil drips out, it might appear a bit cloudy, and that's perfectly normal. You can allow it to settle for a day or two, and any remaining avocado solids will sink to the bottom. Carefully decant the clear oil into a clean, airtight container. For extra purity, you can strain the collected oil again through a coffee filter.
Tips for Success and Troubleshooting
*
Avocado Quality: While overripe is good, avoid avocados that are spoiled, moldy, or have black spots throughout the flesh, as these can affect the oil's quality and taste.
*
Yield Expectations: Be realistic. The oil yield from homemade avocado oil isn't always high, especially from a small batch. It often takes many avocados to produce a decent amount of oil.
*
Storage: Store your homemade extra virgin avocado oil in a cool, dark place in an airtight glass bottle. While it's natural, it still has a shelf life, typically several months, similar to commercial oils. Proper storage prevents rancidity.
*
Uses: Your homemade extra virgin avocado oil is a fantastic addition to your culinary repertoire. Use it for low-heat cooking, salad dressings, marinades, or simply drizzling over finished dishes. Its high smoke point also makes it suitable for some frying. Beyond the kitchen, it's a wonderful natural moisturizer for skin and hair, owing to its rich vitamin E content.
Conclusion
Making your own extra virgin avocado oil at home is more than just a culinary experiment; it’s a rewarding journey in sustainability, purity, and self-sufficiency. By transforming what might otherwise be waste into a valuable, versatile product, you gain control over your ingredients and enjoy the immense satisfaction of a truly homemade staple. So, the next time you encounter those perfectly overripe avocados, remember this guide on
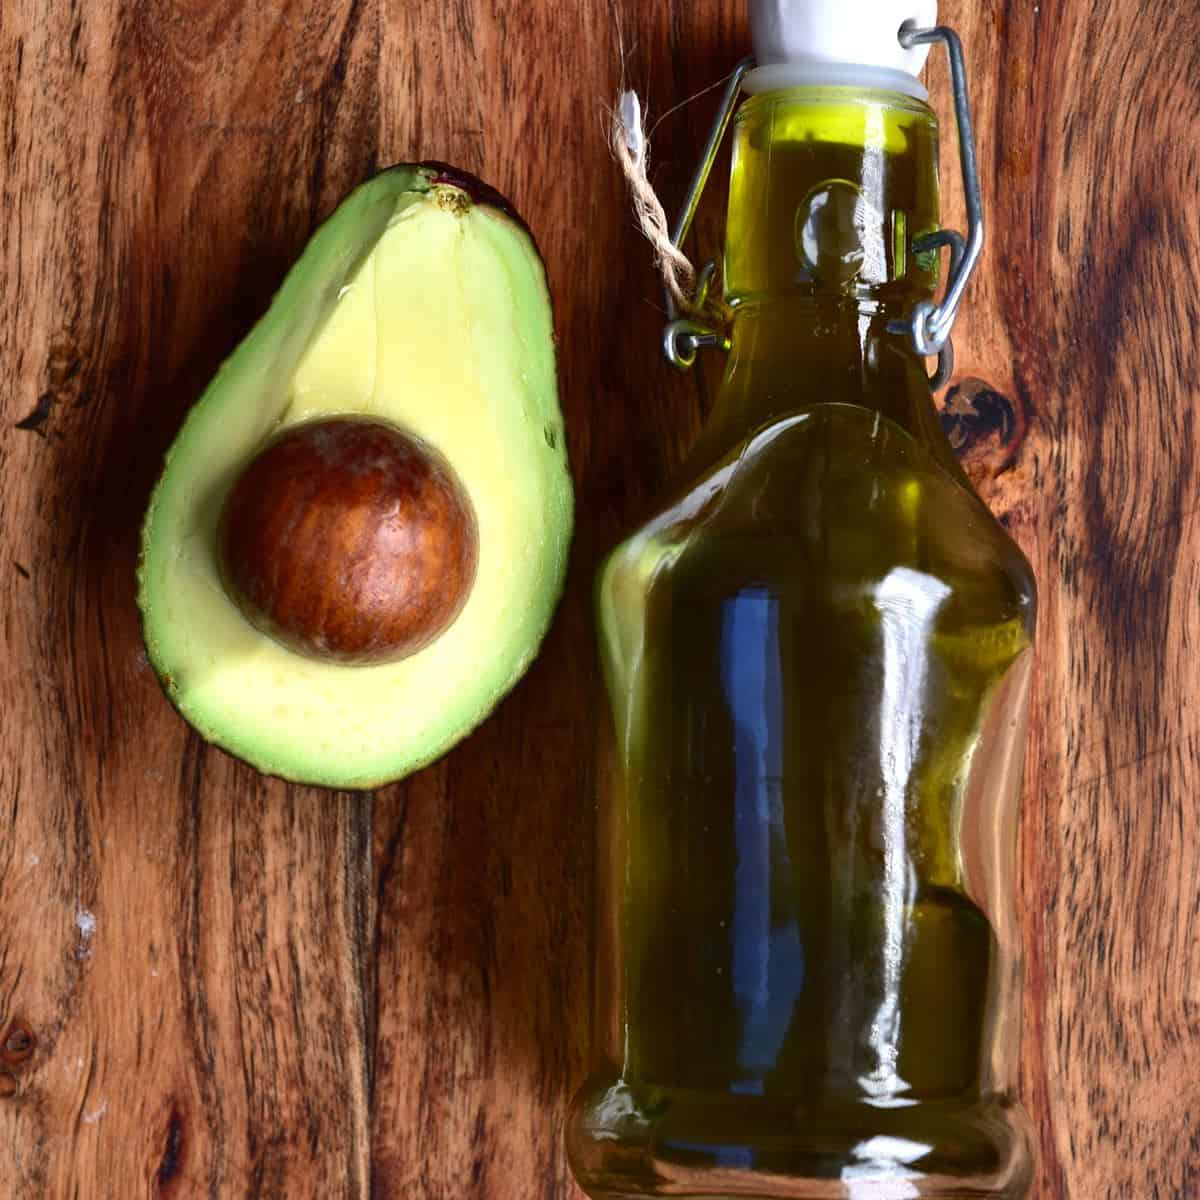
how to make avocado oil extra virgin and turn them into your very own bottle of green gold! Happy squeezing!